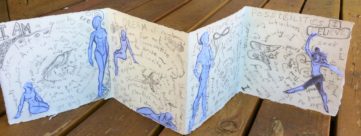
I am coordinating a writer’s festival for 300! Yr 9 students. I wanted an activity that was engaging and would incorporate text and images. I decided an accordion book could offer some good possibilities so today I started my example piece.
Steps to making a personal accordion book.
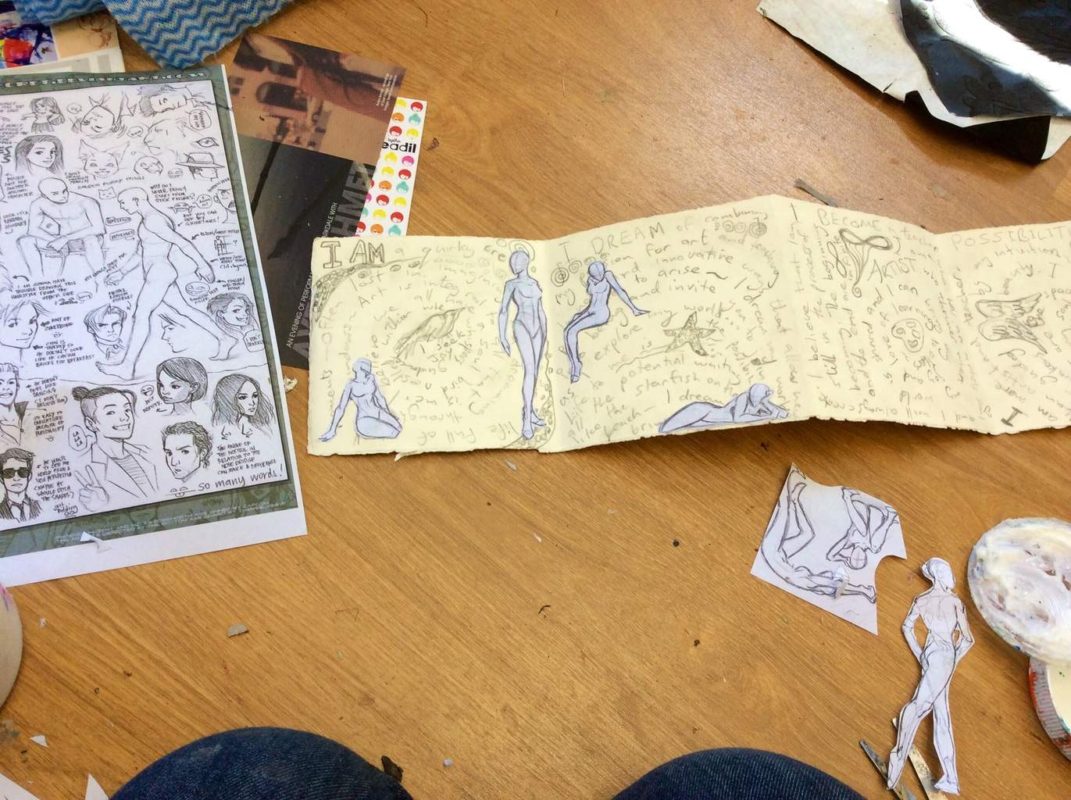
1/ I started the accordion book by cutting a 13 x 52 cm strip of watercolour paper. I then folded it in half , then half again. I opened up the long strip of paper and re-folded it in an accordion zig zag format.
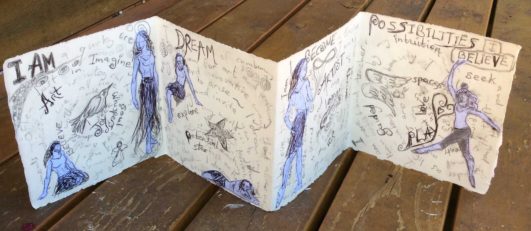
2/ Label each page in order with the following headings: I Am, I dream, I become and I believe (possibilities).
3/ With a grey lead pencil fill each page with stream of consciousness writing. That means you need to follow your intuition and not sensor your thoughts. Write in any way that feels right. In circles or little boxes, diagonally across the page. Their are no rules, just get your thoughts down on the page, spend a maximum of 5 minutes on each page remembering that a lot of this will be covered up in the end.
4/ on each page include a personal symbol. I included a soul bird, a star, an infinity symbol and a paint pallet, a heart and angel wings. These are just small symbols within the writing. I also included lots of spirals and circles for creation and possibilities.
5/ Source and print out a variety of figure poses and carefully choose which image or images you want on each panel. Imagine what you would look like and what emotion you would show,
6/ Now go through the pages and add details with a black pen. Dress your posed figures in favourite clothes and darken and embellish words within each page that seem important to you and show the idea that you are exploring, Darken some words and thicken done lines. Add detail to your symbols and different pattern areas on each page. Refine the details in the clothes, face and hair,
7/ (I haven’t done this yet). Add water colour areas to your pages using a limited pallets of 2 or 3 colours.
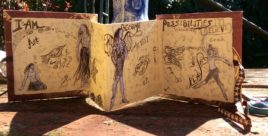
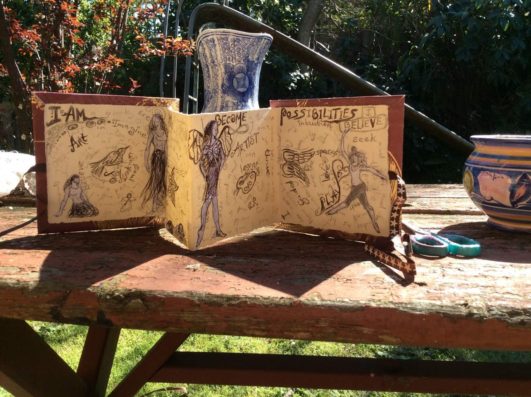
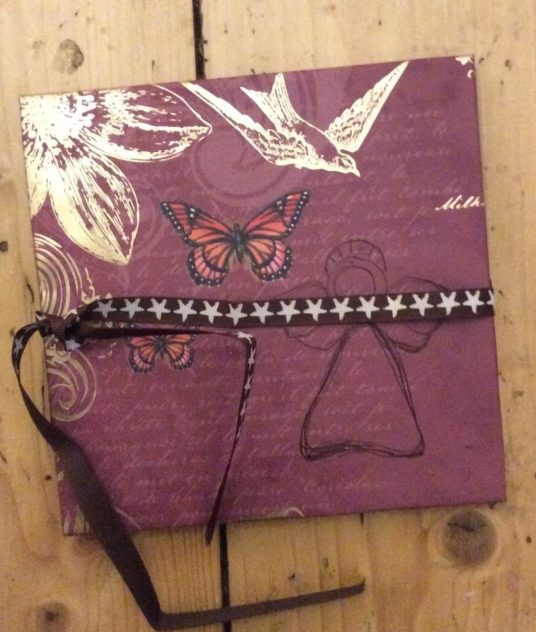
. 8/ Cut out 15 x 15 cm cover sheets in cardboard. Cut out 18 x 18 cm cover sheets in coloured or decorative papers. Glue the cover board to the paper using PVA or gel medium and mitre the overhanging corners. Fold the corners in and glue them down.
9/ Cover the back of the first page with PVA and place a length of ribbon horizontally across the centre of the page. Place the cover on the end page so the book pages are centred. Place a heavy object on top for 1/2 an hour to ensure a basic bond, repeat with the back of the book, making sure that the covers are even.
10/ Add a personal symbol onto your front cover and add your name as the author.
11/ Add a short statement about who you are and what the book is about on the back cover.
12/ A nice extension is to create a double page collage spread on the back 2 pages of your book.
I hope you enjoy making your own personal collage boo k. It is a lovely beginning point for creating your own art books. This is an intuitive process so trust the gentle inner prompts. This is a non-threatening process as most of your writing is covered in the end and you choose what you want to embellish. Take it as far as you like. Add extra pages and create your own headings. Perhaps…my family, my friends…even a book based on your relationships. It could be all about your dreams and different aspects of your dreams. Have fun with playing with the ideas and please share what you do with this basic beginning point.


It is an honor to meet you and am thrilled to view your work
Thank you very much for following. Eddie